Last year, I really wanted to make handprint ornaments with the girls. Except, I had no idea how to do it. So, I stupidly went out to the craft store and bought white clay. From there it was pretty much a disaster – The clay was really stiff, which made it nearly impossible to roll out and make thin. After what felt like hours of work, I got the clay smooth and flat, only to realize that it was so stiff the girls couldn’t actually put their handprint in it. I ended up throwing the clay in the trash and deciding to try again another time. Lesson learned: The way to make those cute handprint ornaments does not involve clay from the craft store.
Earlier this month, I started thinking about those handprint ornaments I wanted to make…and then I saw these on Nest of Posies – suddenly lights, bells, whistles and sirens went off. I was doing it all wrong! I can make these in the kitchen! So I went to the grocery store, mixed up my ingredients and we were on our way. The result is a gorgeous ornament that I love walking by each day. It’s a time capsule that I’ll put on my tree each year to remember just how small they really were.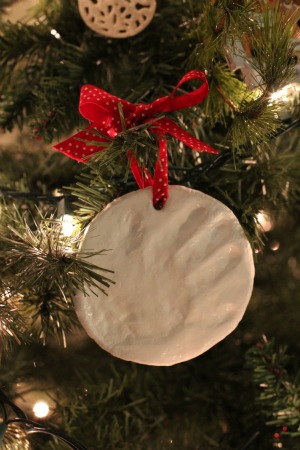
For this craft you will need:
2 cups flour + a little extra
1/2 cup salt
water
rolling pin
straw
large cup or circular cookie cutter
cookie sheet
toothpick
white acrylic paint
paint brushes
marker
spray gloss (I used Krylon)
red ribbon
Step 1 – Preheat oven to 250 degrees.
Step 2 – Combine salt and flour. Add water until moisture is combined. You don’t want it too runny, so add water slowly. I used about 2/3 a cup of water.
Step 3 – Take a little of the extra flour and flour the surface where you are going to be working – this will keep the dough from sticking. Don’t use too much though or the clumps of flour will start to show up in your dough. Roll out dough using a rolling pin…or in my case a wine bottle because I don’t have a rolling pin and had to improvise. Make sure to keep both sides of the dough as smooth as possible (this will be important for later!). Roll to desired thickness and then using the top of the cup or cookie cutter, cut the ornaments out of the dough. I easily got 6-7 ornaments out of my dough, but I had to cut a few ornaments out, ball up the remaining dough, then roll it out again. Lay the ornaments out on the cookie sheet, with distance between them.
Step 4 – Press your child’s hand into the dough. This is definitely a 2 person job if your child is under 2. Once the handprint is in, decide which end of your ornament is “up”, and using the straw, place a hole at the top of the ornament. Right before you put your ornaments into the oven, rub a small bit of water over the front of the ornament using your finger or a cloth. I had read this tip in another blog, and I felt that it really gave my handprints definition.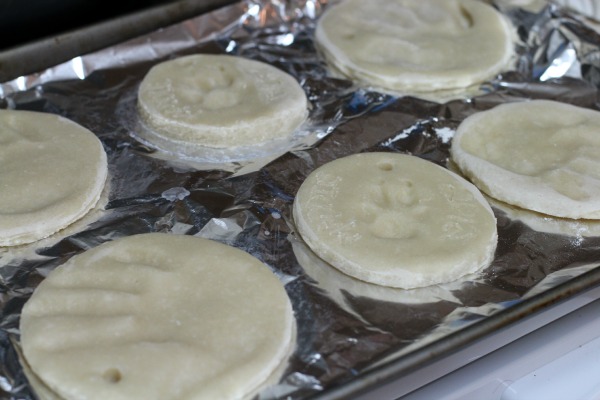
Step 5 – Bake for 1 hour and 15 minutes at 250 degrees. These ornaments will rise, so you will need to check on them every 20-25 minutes or so. If you notice that they are rising, poke the areas that are rising with the toothpick, then put them back in the oven.
Step 6 – Allow to cool. I actually left mine for a day or two, then completed the project, but you don’t have to wait that long.
Step 7 – Paint both sides of the ornament white and allow to completely dry. Touch up if dough can be seen through the paint. I highly recommend the Basics paint you see in that picture. It’s really thick and only required one coat. I’ve used it on a ton of projects and rarely do I need a second coat. It’s a bit more expensive, but totally worth it. I swear that isn’t sponsored, I just love the paint.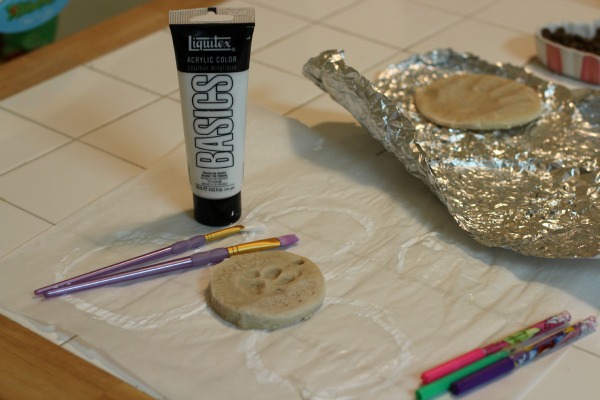
Step 8 – I tried etching names and dates into the ornament using a paperclip, but that was pretty much a disaster. I wasn’t able to carve the words in smoothly and the dough that I had carved out started to bunch up. I don’t recommend that, but what you can do instead is write your child’s name on the back along with the year. Once the paint is completely dry, write the child’s name and year on the back of the ornament using the marker. If the back of your ornament is rough or bumpy, you could have problems, so you might want to skip this step. 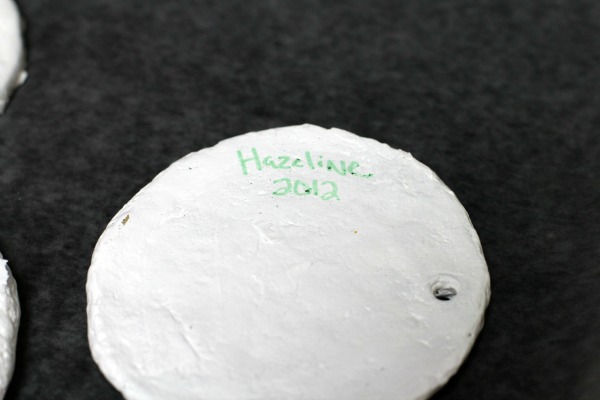
Step 9 – Coat once with Krylon spray gloss and allow to completely dry. Thread ribbon through hole at the top of your ornament and hang on your tree.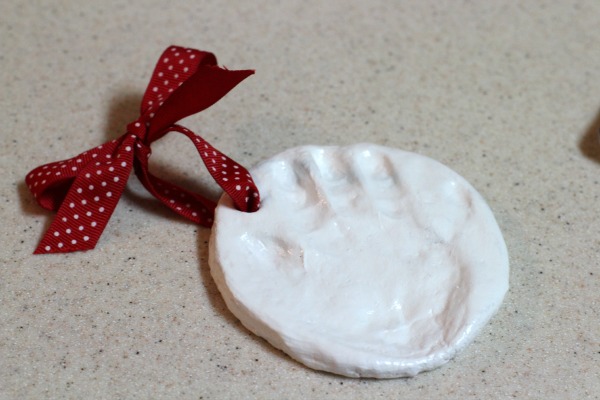
Every year, we try to get a new, special ornament for our tree. This year, we don’t have to buy one, because these ornaments are both new and special. I love walking past them each day and I’m thrilled that I’m going to have them for years to come. And they were so ridiculously easy…
Actually, these ornaments are so easy, we even made one for our dog, Madison.
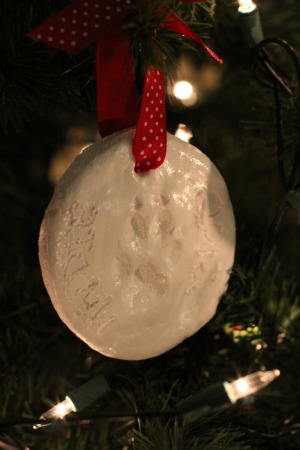 Our cat, Sonoma, wasn’t having it, or we would have made one for her too!


YAY! so glad they turned out for you! they look beautiful!
Merry Christmas.
Kellile