
My kids want nothing more in this world than “Frozen Stuff”, or merchandise associated with the Disney blockbuster Frozen. They’ll take anything that even remotely resembles Anna, Elsa, or Olaf…problem is, you can’t find “Frozen Stuff” anywhere. In fact, if you follow me on Facebook (which you totally should, ’cause all the cool kids are doing it) you’re aware that parents everywhere are getting similar requests and are losing their minds over the inability to fulfill them. Literally, some of them may need to be committed.
So when it came to the girl’s Easter baskets, I knew I had to incorporate something Frozen and I knew that buying it was out of the question. I’ve seen a few Etsy shops selling beaded Frozen necklaces, but at a price of nearly $30 a piece, I decided to just make them myself.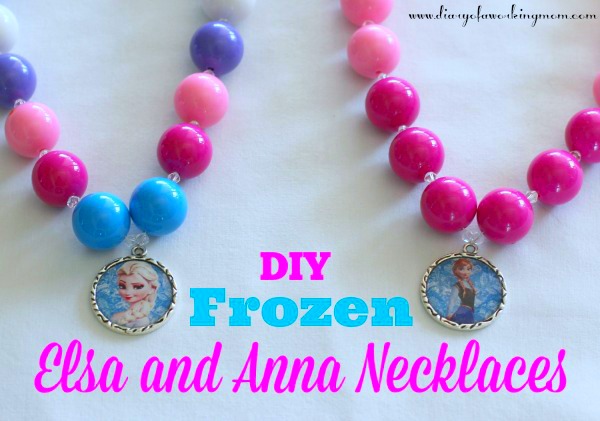
Now, I’m not about to open an Etsy shop anytime soon, but I think they turned out nicely and I still have supplies left over to make several more. These necklaces aren’t terribly hard to make, but I wanted to post the tutorial here just in case you’re one of those moms trying to fulfill Frozen dreams and you think you can’t make your own jewelry or don’t have the time. They’re actually very easy and only take about 20-30 minutes a piece. Oh, and it helps that my kids just love them!

For this project you will need:
Super strong beading cord (lots of people use the elastic kind, but I didn’t – it’s your choice)
20 mm chunky gumball beads in any color you wish*
4 mm clear glass spacer beads
1 inch round clear, raised epoxy stickers
Silver frame that can fit the epoxy stickers (Mine is from Found Objects, purchased at Michael’s)
Lobster clasps & loops
Picture of Anna, Elsa, Olaf or any other character your child will want to wear
Tacky glue
Scissors
Step 1 – Using a copier, shrink the character photo down to 1 inch, or as close to that as you can get. Then place the clear epoxy sticker on top and press down hard so it adheres. Cut around the epoxy sticker character using the scissors, trimming all the excess. Don’t do this with an x-acto knife or you might end up damaging the epoxy sticker.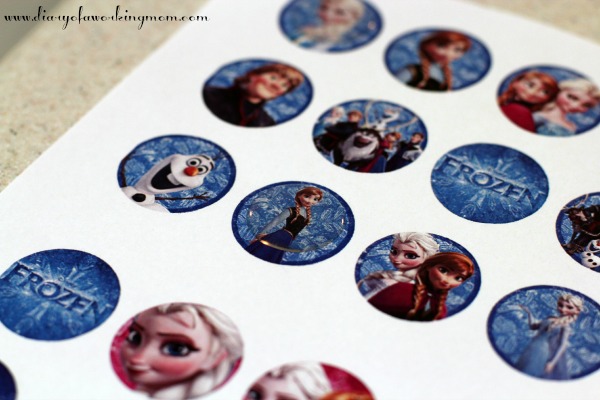
My photos were a little bigger than 1 inch, but I wanted the character pictures to be large and clear so I didn’t shrink them down any further. Just use 1 inch as a guide.
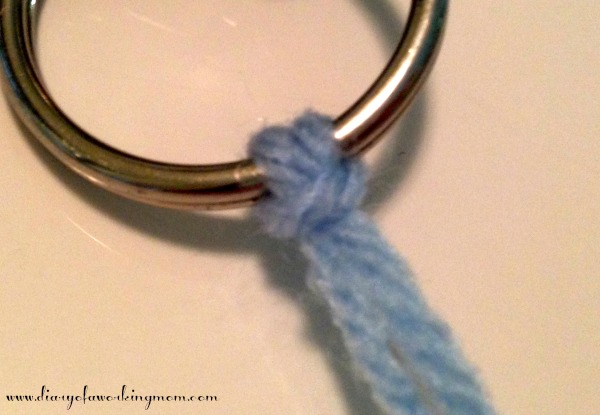
Step 2 – Place a small amount of Tacky glue in the silver frame and place the round epoxy character on top. Press down hard to force out any excess glue. Allow the characters to dry completely.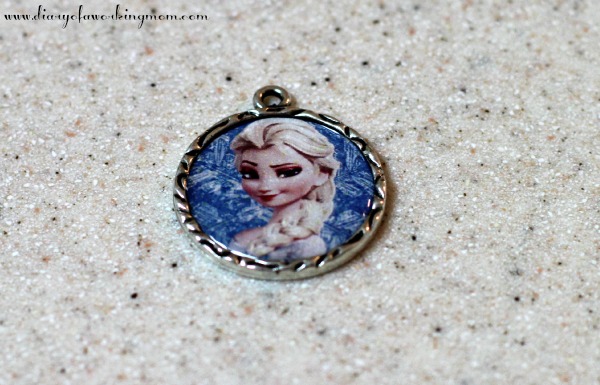 Step 3 – Cut approximately 25-30 inches of beading cord. Your necklace will be shorter than this, but you want to have a little extra room to work with. Using a square knot (pictured below – please pardon the poor cell phone picture!), place your character in the middle of the cord you just cut. Remember, if it’s not exactly in the middle that’s okay because you left yourself a little extra room and can always trim the ends to make it the middle.
Step 4 – String one side of the necklace, placing a clear 4mm spacer bead up against the silver frame, then a gumball bead, then a spacer, then a gumball bead, and so on until you’ve strung 10-11 gumball beads (all with spacers in between), depending on the length you want – Hazeline’s Anna necklace was 10 gumball beads on each side and Greenleigh’s Elsa necklace was 11 gumball beads on each side. You want to start and end the string with a 4mm spacer bead. Once you’ve reached the end of one side, tie the clasp on using 2-3 knots. When you reach the other side, tie the loop to the end. When your tying the lobster clasp and loop to their respective ends, try to leave as little beading cord exposed as possible. In other words, you want the clasp/loop to be right up against the very last spacer bead (or as close as you can get it).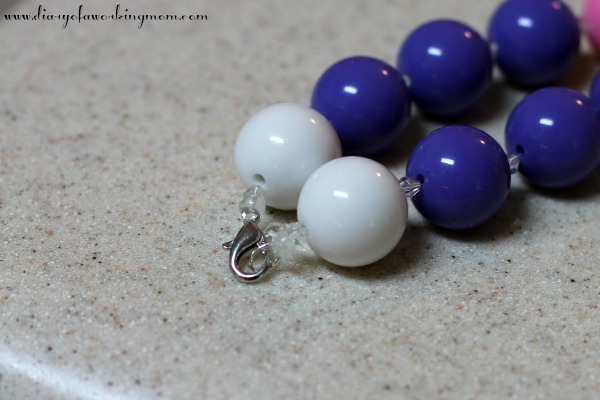
Step 5 – I don’t know that it’s absolutely necessary, but for a little extra security, I placed a dab of hot glue on the knots attaching the beading cord to the clasp and loop ring.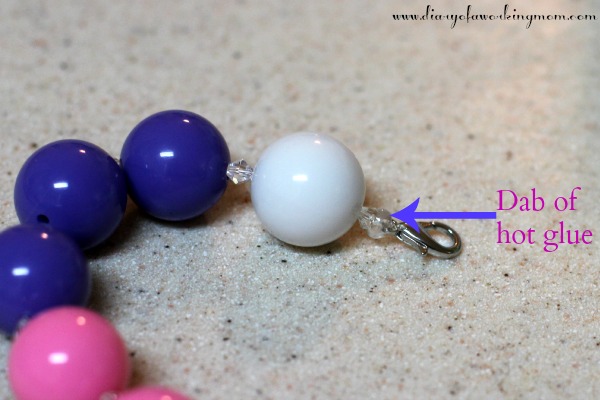
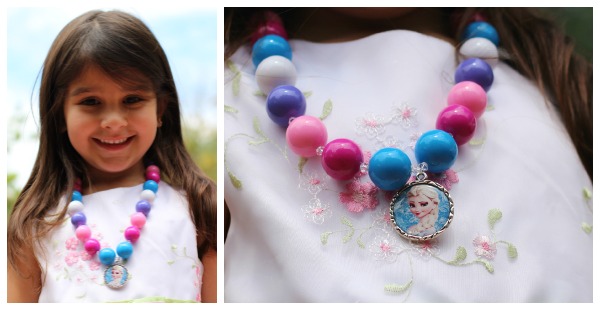
Then sit back and enjoy as you win Mom of the Year for getting your hands on some coveted “Frozen Stuff”!
 *I purchased my beads from the Fizzy Pops Etsy shop. I ordered on a Saturday and they arrived on Wednesday morning. I highly recommend them!

That is a really cool idea! I’ll have to make one of these for my niece. Found you via SITS!
I’m surprised to hear that Frozen stuff is not yet on the market–that’s all I keep reading all the Mom’s talking about. This is a great idea and stringing beads–well even I can do that!!
These are just totally totally cool! I am quite surprised that Disney isn’t trying to milk every penny out of people with Frozen’s success at the box office.
You might like to see this that I posted on my blog on Monday: How Frozen Should have Ended. It’s hilarious.
OMGosh those are sooo cute!!!
Mia would absolutely love this necklace! I’ve pinned it so I can follow your instructions. Thanks for the tutorial!!
This is awesome. I’m going to try it as they would make a great birthday surprise. Lately I’ve been making my own jewelry. Love it!.
She looks so cute and happy with her little necklace on! I bet buying something similar in the store would have costed a lot more, too!